How to Do Spell Check In PowerPoint
Life just cannot go on without our beloved PowerPoint presentations. Right from a simple school assignment to a million dollar deal, a presentation without PowerPoint is a rare occasion. Leave the best impression on your audience by making your presentations error free and impressive. Careless mistakes can cost you more than you think, so make use of this article that will show you how to check spelling in PowerPoint.
How to check spelling on PowerPoint 2007
Similar to the other products in the Office suite, PowerPoint also provides some amazing spell check features.
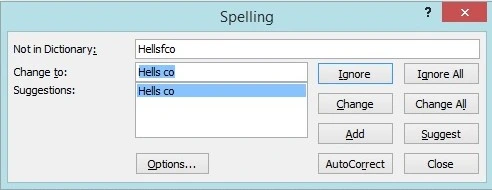
The squiggly red lines come to your rescue in identifying the misspelled words as you type. You are also provided with an AutoCorrect option that will replace the common typos like ‘teh’ with the correct words ‘the’. Besides these features, you can make time for an in-depth spell check by opening the Spelling dialog box. There are several ways to open the door to this dialog box. They are listed down for your convenience.
- Press F7.
- Go to Review Tab->Click on Spelling on the Proofing group
- Right click on a word and select Spelling from the pop-up menu.
This pop-up menu will also display a list of suggestions and a shortcut menu item to add the word to the dictionary.

You can add the word to the dictionary, ignore it or change it with any of the suggestions listed. You can also type in a new word.
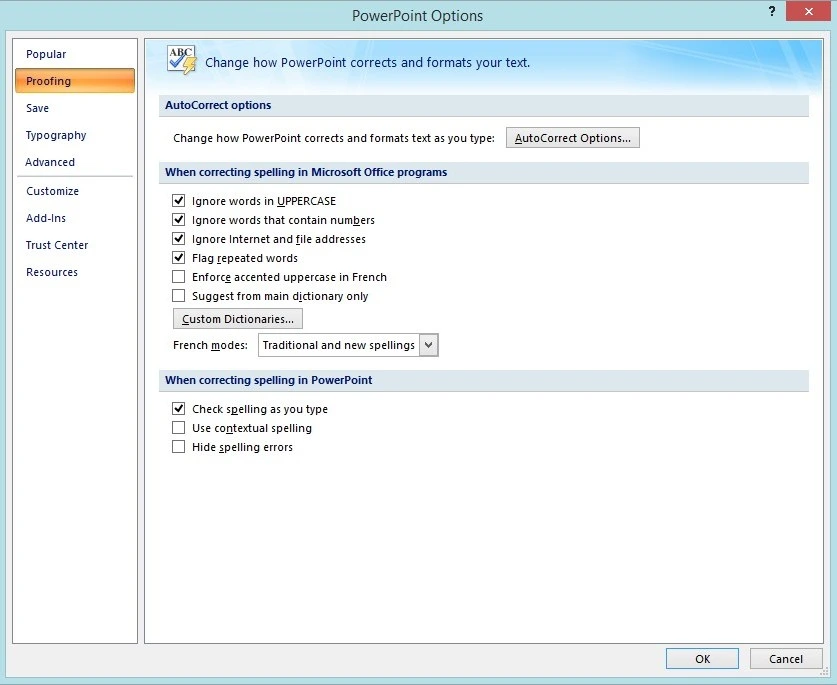
You can make changes to the autocorrect feature and other advanced spell check settings by clicking the Options button.

You can add the words and replacement words to be auto corrected under the Autocorrect options.
By selecting or deselecting the check boxes like Ignore words in Uppercase, Check Spelling as you Type, Flag repeated words will enable or disable that feature.
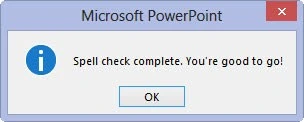
You can continue to run the spell check for every misspelled word until PowerPoint tells you that the spell check is complete.
How to check spelling in PowerPoint 2010
Except a little freshness in the UI, the spell check features remain the same in this version of PowerPoint. By either pressing F7 or clicking on the Spelling icon from Review tab, you can get started with running your spellchecks.
You can modify the spell check options reaching the Proofing settings via Menu-> Options and then select the Proofing tab.
How to check Spelling in PowerPoint 2013
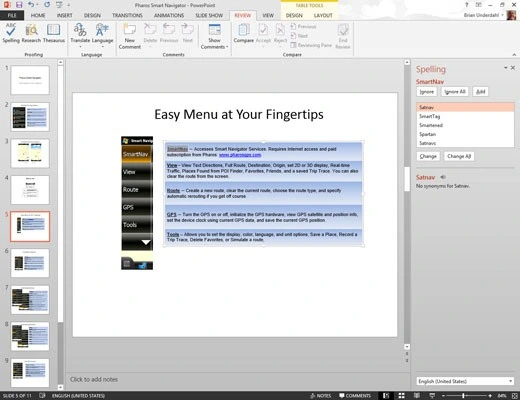
Opening the Spell check runner follows the same procedure as the older versions. Once you have opened the Spell checker by clicking on Review tab and then the Spelling icon, wait until PowerPoint finds the errors and shows them to you. Then you can proceed with correcting them or judging them to be innocent by ignoring or adding those words to the dictionary.


Spellcheck.net to the rescue!
Don’t have time? Or the concepts bouncing off the head? Simply logon to the spellcheck.net which will do all the tasks for you and would make sure you don’t have a bad face in front of your audiences. Present your presentation with confidence with spellcheck.net!

